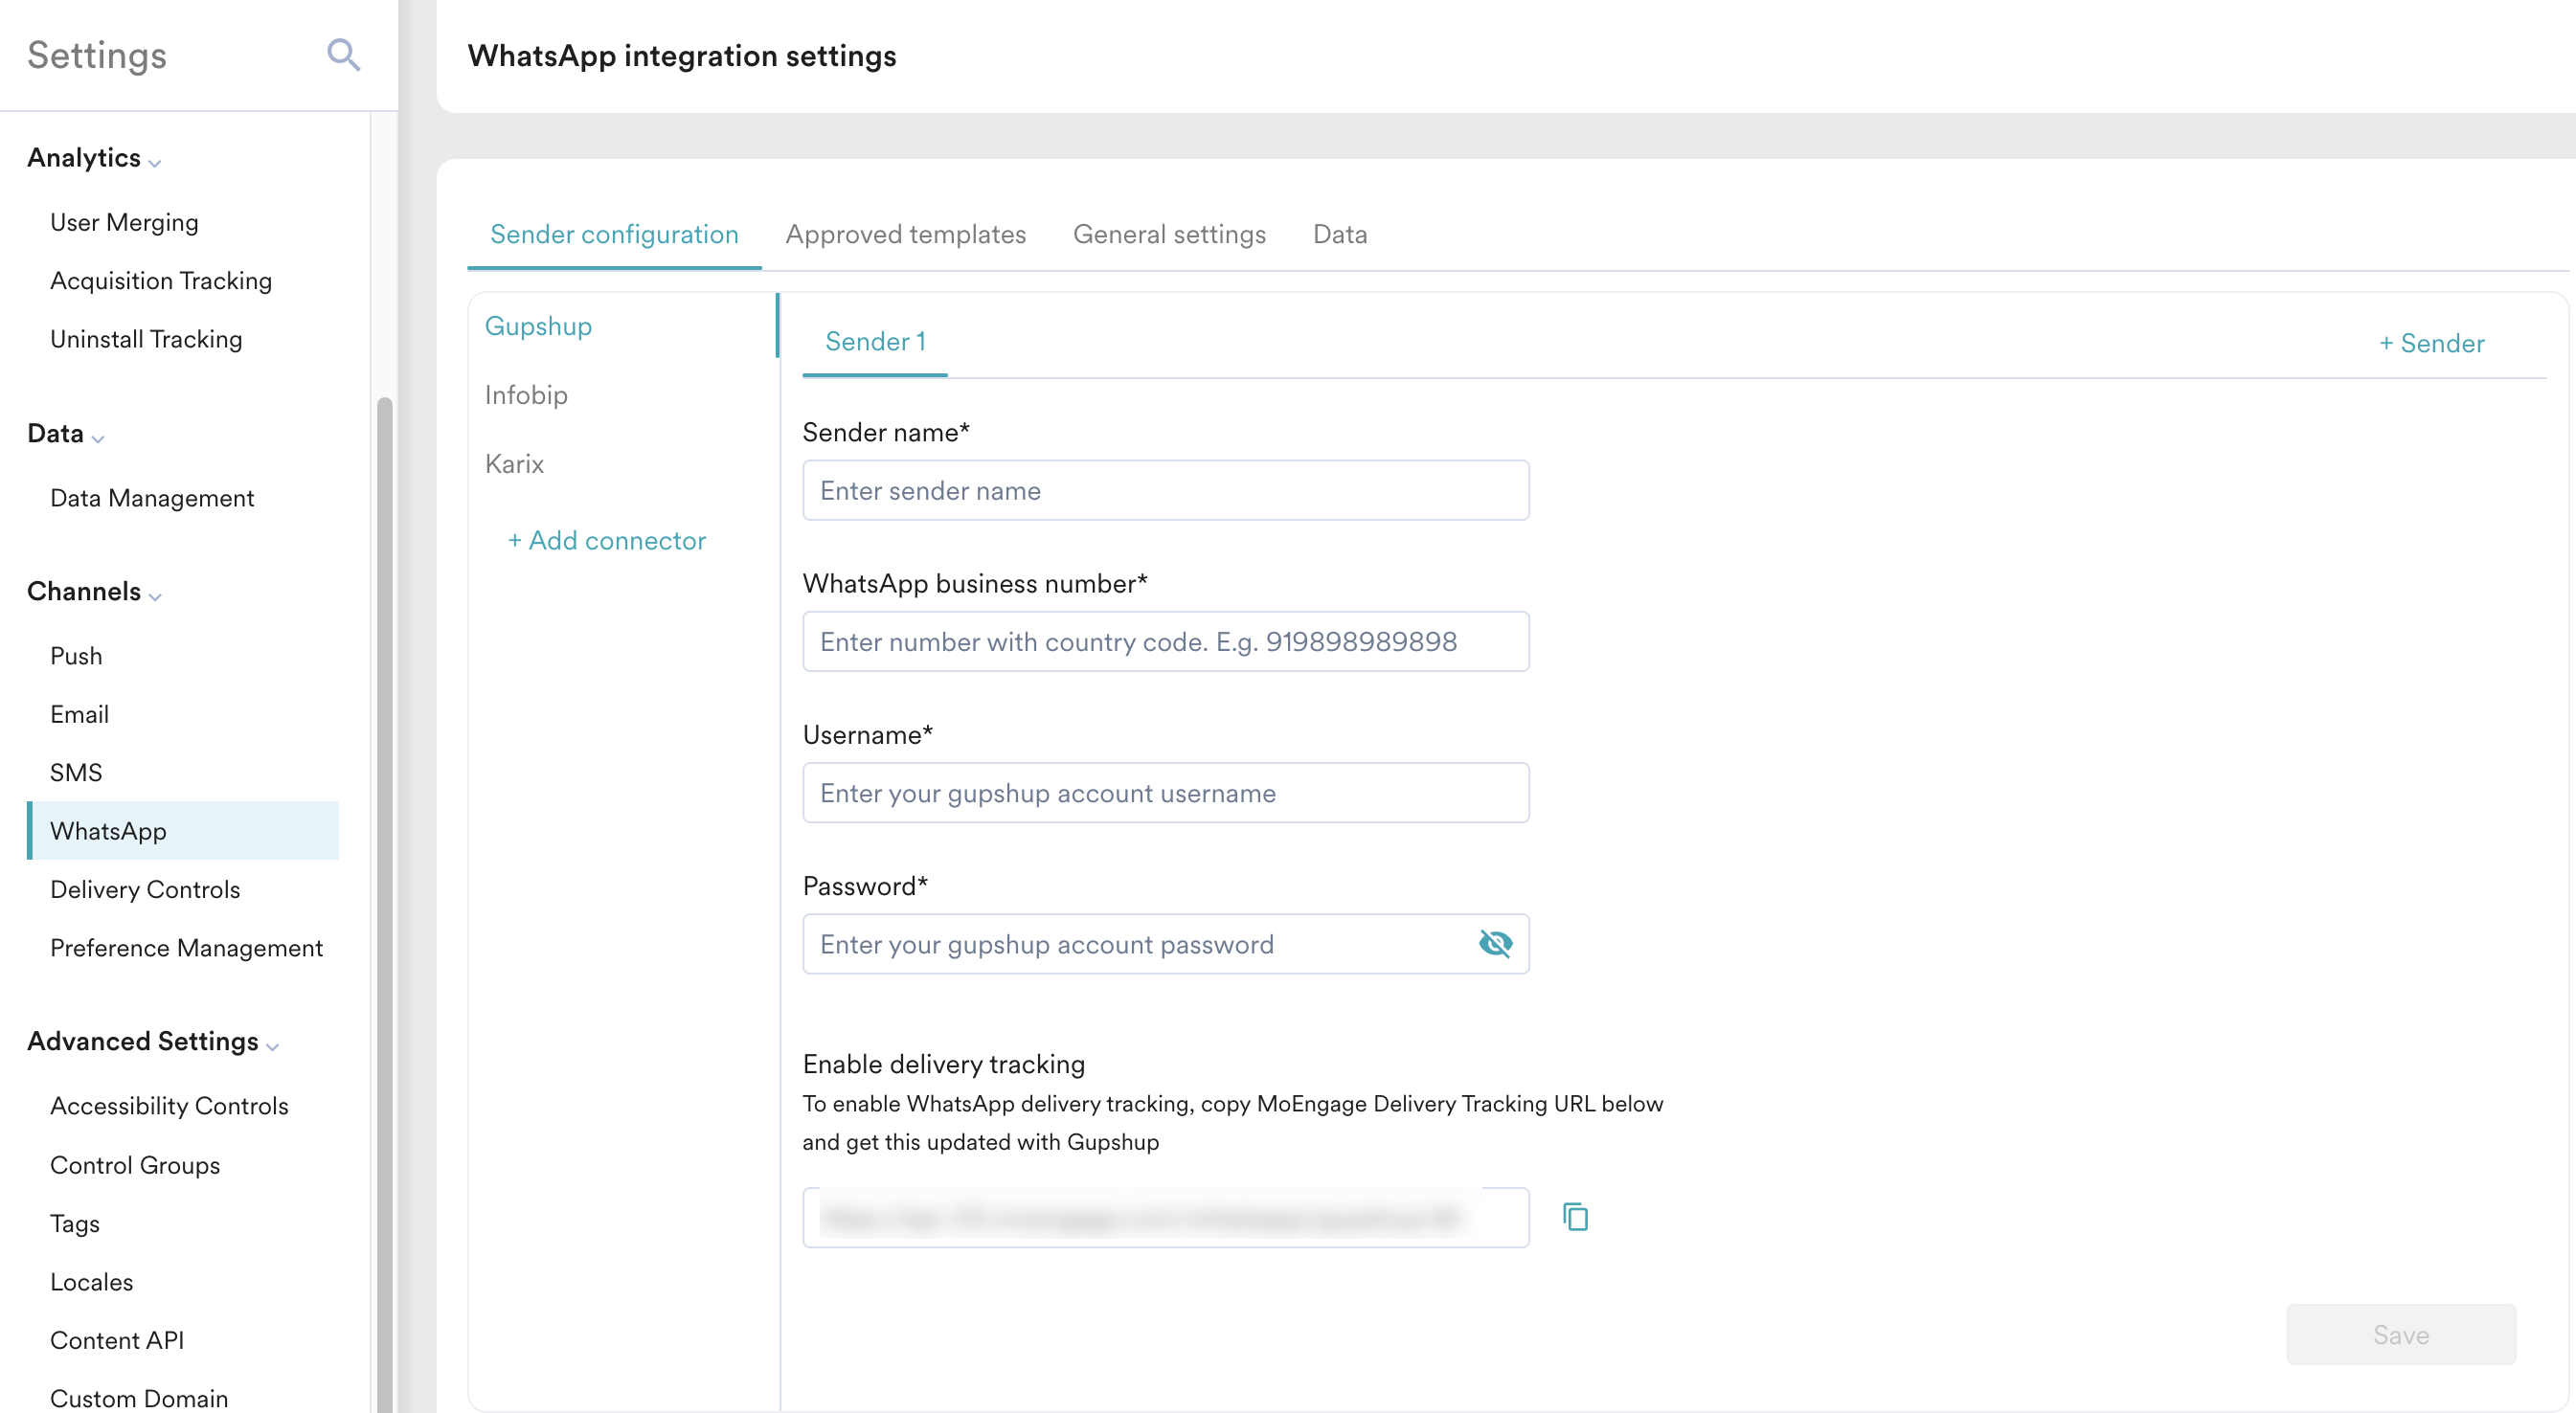
To use WhatsApp Messaging on MoEngage, you first need to configure the WhatsApp channel. To configure the WhatsApp channel in MoEngage, navigate to Settings > Channels > WhatsApp.
| library_add_check |
Prerequisites Before you begin, ensure you have completed all the prerequisites listed here. |
Steps to Configure WhatsApp
The following are the steps to configure the WhatsApp channel:
- Configure your sender profile
- Add templates that are already approved by WhatsApp
- Update WhatsApp opt-in on MoEngage
- Configure delivery control settings
- Whitelist IPs
Configure your Sender Profile

Configuring a WhatsApp Business Solution Provider (BSP) or WhatsApp Service Provider (WSP) is a mandatory prerequisite for running any WhatsApp campaigns. It’s important because it establishes the technical integration between your business and the WhatsApp platform, allowing MoEngage to initiate and transmit messages on your behalf.
WhatsApp BSP/WSP can be added and managed in the sender configuration tab of WhatsApp settings. You can access the Sender configuration tab using this path: Settings > Channels > WhatsApp > Sender configuration.
Perform the following steps to add a WhatsApp sender:
- On the Sender configuration tab, click + Add connector.
- On the WhatsApp connector dialog box, choose the connector from the dropdown. The Choose a connector dropdown lists all the connectors that MoEngage supports.
- After adding the connector, select the connector. Sender 1 is auto-populated; click + Sender against it to add more senders for that connector.
- Add the sender details based on the selected connector. To complete the sender configuration, refer to the respective WhatsApp provider articles.
- Click Save.
Add WhatsApp Templates
WhatsApp templates facilitate streamlined communication by helping businesses curate predefined, personalized messages. You can send WhatsApp Messages using MoEngage and use the templates that are already approved or whitelisted (directly or by the WhatsApp Service Provider or BSP) by WhatsApp in the MoEngage Platform. All the approved templates are listed in the Approved templates tab of WhatsApp settings. For information on template approval and configuring the template details in MoEngage, refer to WhatsApp Templates.
Update WhatsApp Opt-in on MoEngage
It is recommended to update the opt-in status in MoEngage. You can configure the fields that store WhatsApp numbers, WhatsApp Opt-in statuses, and WhatsApp Lead & Message of end users in the general settings tab. You can access the General settings tab using this path: Settings > Channels > WhatsApp > General settings.
- Use the following fields to select the attribute that stores WhatsApp mobile number and opt-in status:
Field Description Select the attribute in which user's WhatsApp mobile number is stored This field denotes the attribute that would be storing the WhatsApp mobile number in MoEngage. Select Mobile Number from the dropdown. Select the attribute in which user's WhatsApp Opt-In is stored This field denotes the attribute that would be storing the WhatsApp opt-in status in MoEngage. Select WhatsApp Subscription Status from the drop-down. - Configuring mobile number format guarantees that all mobile numbers are correctly passed to WhatsApp providers, which is essential for successful message delivery. To configure the mobile number format for the application, click the Set the mobile number format link. You are taken to the Mobile number management page. For more information, refer to Mobile Number Standardization.
- To configure the WhatsApp Lead & Message using the following toggles:
info Information
You cannot turn on the following toggles if PII tokenized sending is enabled for you.
Toggles Description Create a new profile if message is received from new number Formerly, MoEngage discarded WhatsApp messages received from users without an existing user profile. With this toggle turned on, MoEngage automatically generates user profiles for new users upon receipt of messages, thereby guaranteeing the preservation of these communications.
Store all incoming messages from all customers Formerly, MoEngage retained incoming messages directly associated with campaigns, such as quick replies. With this toggle turned on, MoEngage stores all the incoming messages from all existing users.
Note:
If the Create a new profile if message is received from new number toggle is turned on along with this toggle, MoEngage stores all incoming messages and tracks them under an event named WhatsApp Message Received, encompassing those from both existing and newly created users.
- Click Save to save the configurations.
Configure Delivery Control Settings
Configure Frequency Capping (FC) and Do Not Disturb (DND) to ensure that you are sending the optimum number of messages to your users and not during DND hours. This is an optional step.
Whitelist IPs
MoEngage uses dynamic IPs to send messages. If your WhatsApp BSP/WSP requires a static IP address, refer to the provided documentation for more information. This is an optional step.
Next Steps